

Build with an AI agent
An agent in OvalBee edits the same flow you see on the canvas. It looks up nodes in the Node Library, reads the datasets, models and secrets available in your workspace, writes the graph and binds inputs — and every change shows up on the canvas as it happens. You can keep editing by hand at any moment.
There are two ways to work with one:
What an agent can do
Both kinds of agent use the same set of tools, so they can do the same things:
- Build and change flows — add, remove and rewire nodes, set inputs, bind references between nodes, set schedules and add sticky notes.
- Find the right node — search the Node Library by task, read a node’s inputs and outputs, and look up the valid choices for an input (for example, which datasets or pretrained checkpoints exist).
- Explain — read a flow and tell you what it does, or why a node failed by looking at its recent runs.
- Undo its own work — the agent can list its earlier edits and roll one back. On top of that, the flow editor saves a version named Before agent edit before the agent’s changes are applied, so you can always restore the flow from Versions yourself.
- Run a node — start one node, if your role allows running flows.
Every write is validated before it’s saved: a node that doesn’t exist, an input value that isn’t allowed or a reference to a missing output is rejected with an explanation, and the agent corrects itself. Nodes the agent doesn’t touch keep their settings and run history. If someone changes the flow while the agent is working, its write is refused and it re-reads the flow first, so it can’t overwrite your edits.
Agents never see secret values. They refer to secrets and datasets by name, and the actual credentials stay on the server.
AI Chat in the editor
Open a flow and click AI Chat in the toolbar above the canvas. On an empty flow the panel opens by itself.
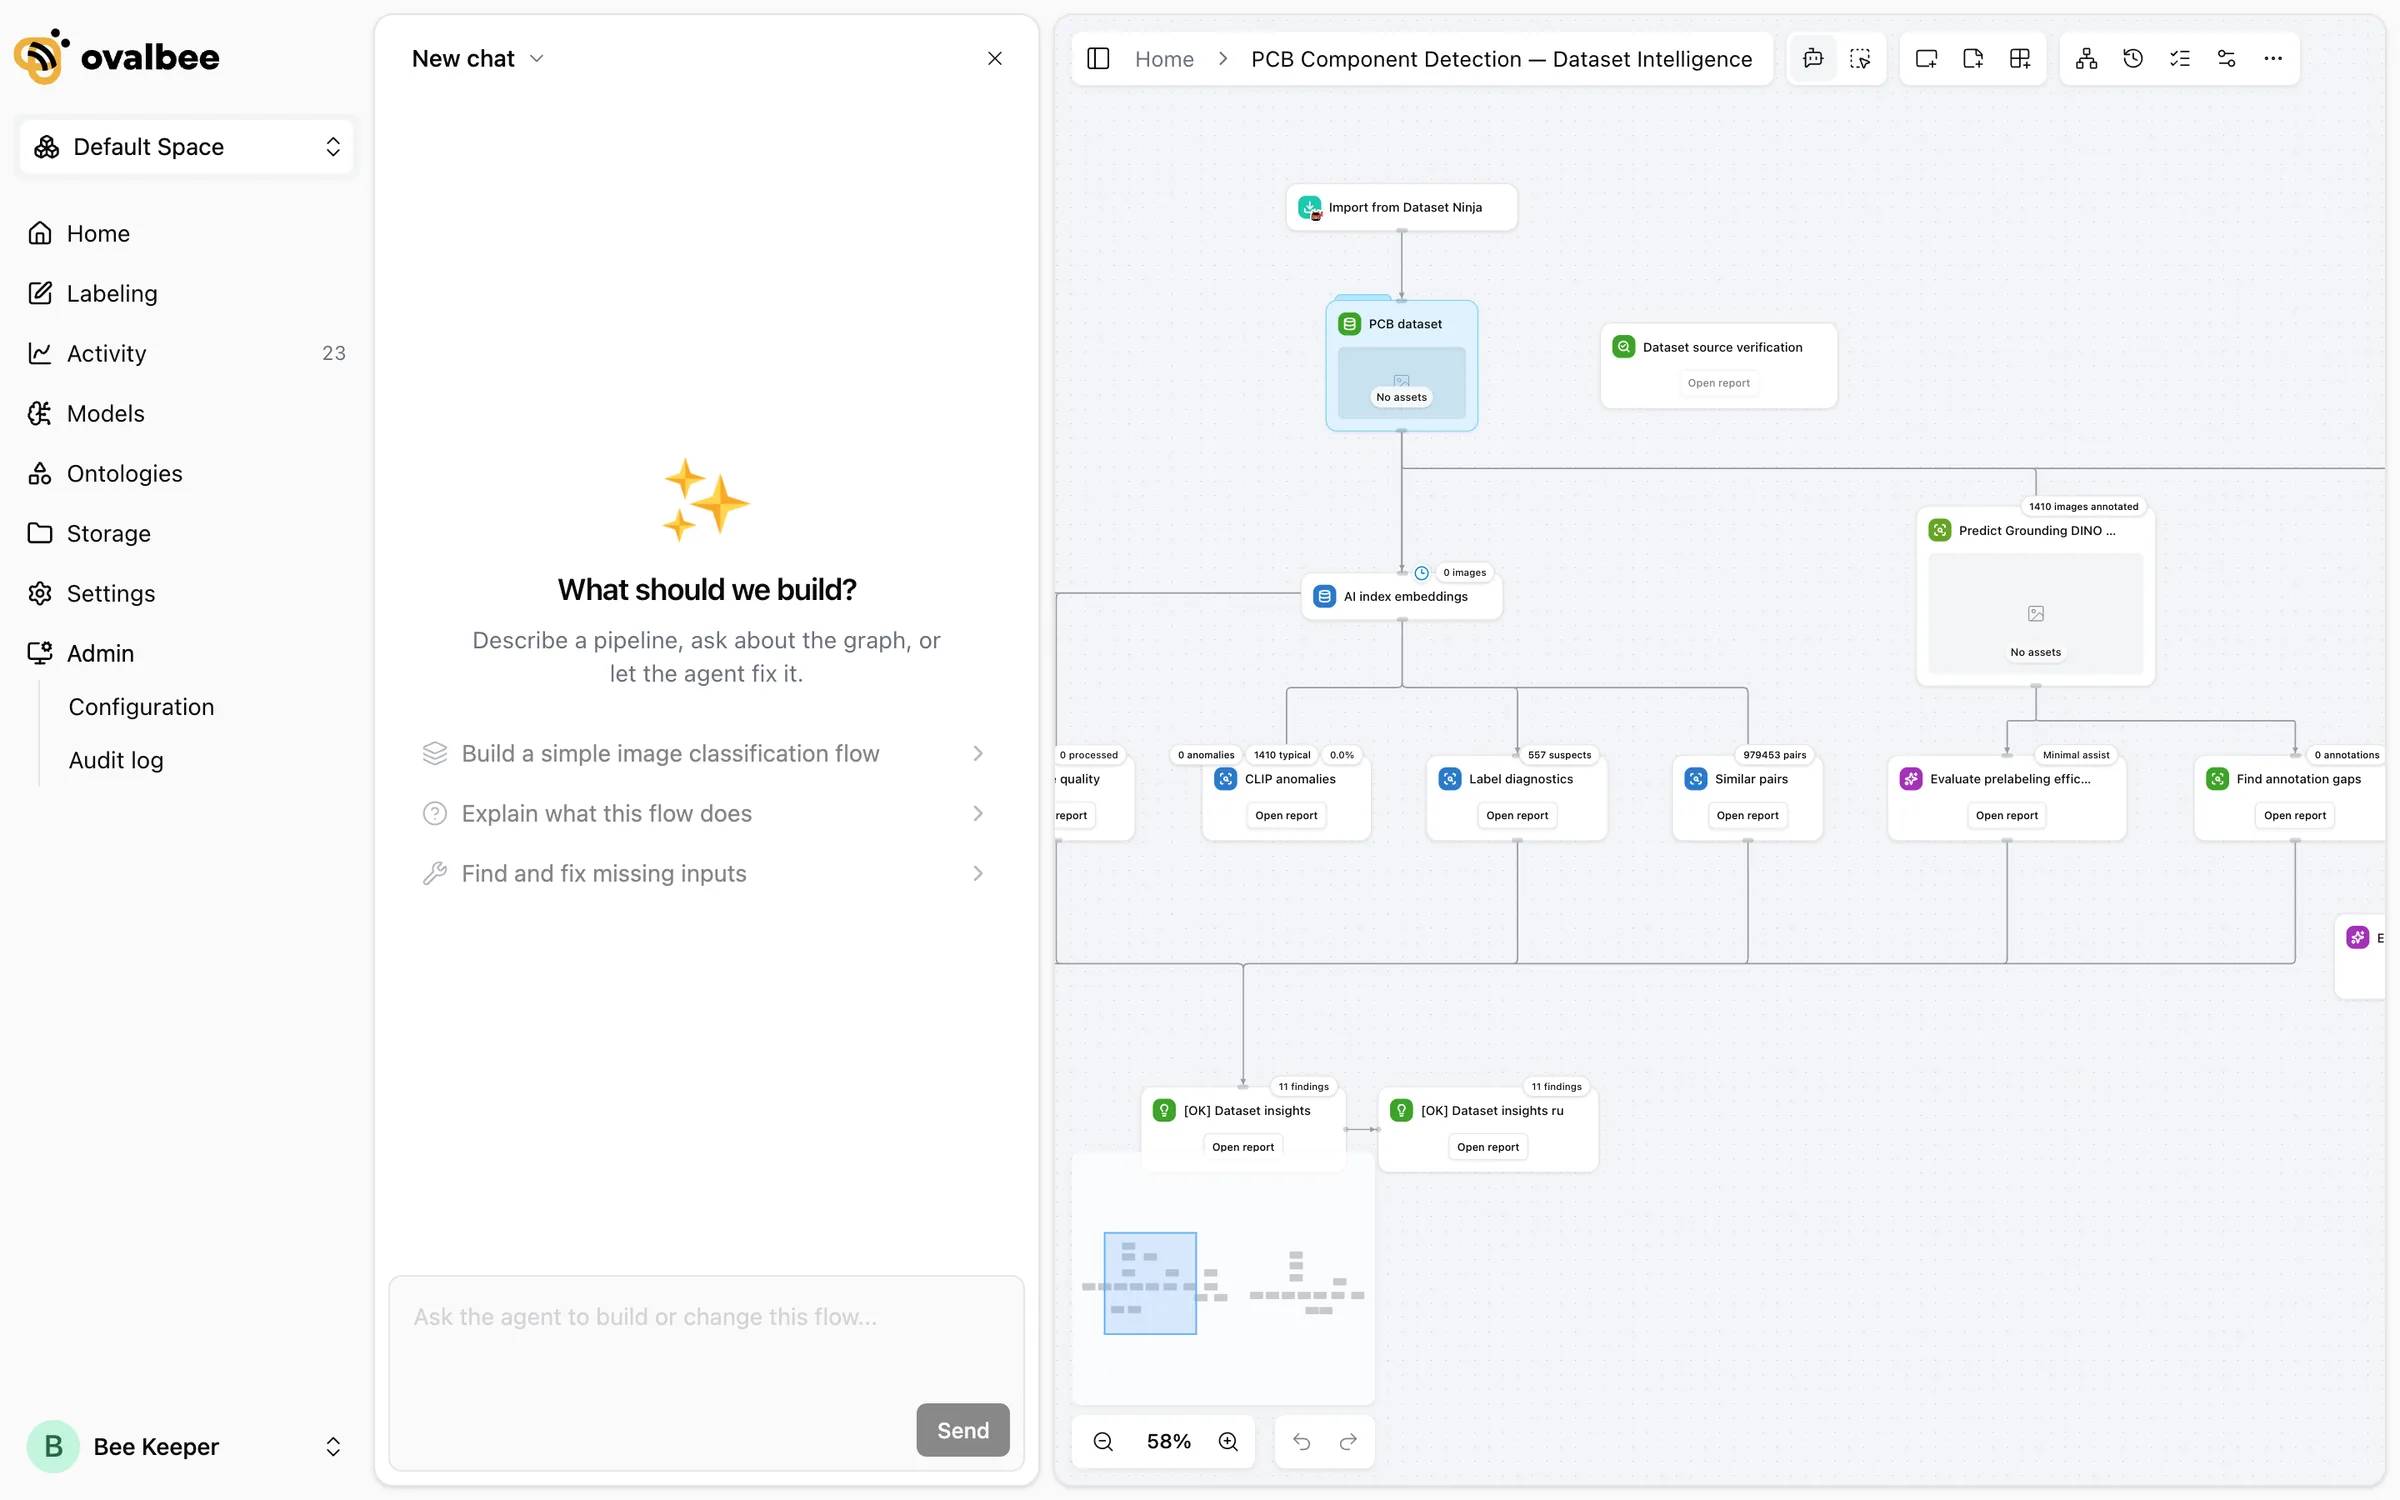
Type what you need, or start from one of the suggestions:
- “Build a flow that imports my images, splits them 80/20 and trains a YOLO detector”
- “Explain what this flow does”
- “Find and fix missing inputs”
- “Add an evaluation branch that compares the new model with the current one”
The agent asks a question when a choice is really yours — which dataset, which classes, how big a validation split — instead of guessing. Before it runs a node or reverts the flow to an earlier revision, it shows the action and waits for you to approve it. Conversations are kept per flow, and you can switch between them or start a new chat from the panel header.
AI Chat needs an OpenAI API key, set once by an instance administrator under Admin → Configuration → Integrations. Until then the panel says the agent isn’t configured. On OvalBee Cloud, agent usage counts against your plan’s monthly credits, and the remaining balance is shown under the message box.
Connect your own agent over MCP
OvalBee runs a Model Context Protocol server, so an agent you already use can drive OvalBee directly. This is the better choice when the agent should build several flows, create new ones, or work alongside your own code and data.
Open the connection dialog
On the Home page, click Build with your agent. The dialog shows the server address, which is your OvalBee address followed by /api/mcp.
Generate a token
Click Generate token. The token is shown once — copy it now. It’s listed afterwards under Settings → API tokens, where you can revoke it.
Claude Code
Codex
Other clients
Run this once, in any directory. Use single quotes around the header — the token contains characters a shell would otherwise expand.
Then start a new Claude Code session. A session that was already open won’t see the server.
The token acts as you: the agent sees the same workspace and can do exactly what your role allows. A token belongs to one workspace, so create one per workspace if you work in several. Creating a new token from the dialog replaces the previous agent token, which stops working.
Getting good results
- Name the real things. “Train on the
PCB componentsdataset, classesresistorandcapacitor” beats “train on my data”. The agent can look up names, but it can’t read your mind. - Say what should happen to the results. Where accepted images should end up, which model to compare against, what threshold counts as good.
- Ask it to explain before it changes. “What would you change to add a review step?” gets you a plan to agree on first.
- Keep runs deliberate. Building a flow never runs anything. Training and prediction nodes use real compute, so the agent asks before it starts one — and you can always start runs yourself from the canvas.
- Iterate on the canvas. Once the structure is right, small changes such as a threshold or a batch size are faster to make in the node’s sidebar yourself.
Related pages
- Flow editor — what you can do on the canvas by hand.
- References — how nodes pass data, which is what the agent sets up for you.
- Secrets and API tokens — managing the token your agent uses.